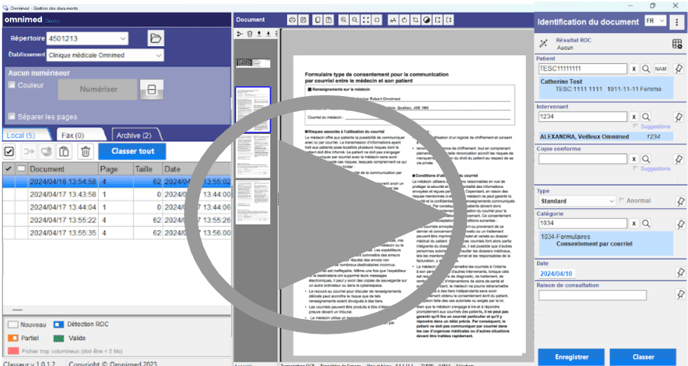
The scanning module includes a scanning tool that lets you manage scanner settings and start scanning right from the module. You can also manually transfer PDF documents saved on your computer.
Method A - Scan documents from the module
Method B - Transfer documents manually
Method C - Insert screenshot
Method D - Retrieve a classified scanned document
View scanned documents
⚠️ Important
For reasons of performance and functionality:
- Each file must respect a maximum of 50 MB and a maximum of 100 pages. The scan module must not contain more than 100 pages in total.
- Documents from the scanning module 2.0 are hosted on the user's own computer. They no longer pass through Omnimed's servers. As a result, only one user needs to complete the digitization process, on the same computer workstation.
🎦 Scanning module training - Scanning steps 1-2-3 (18 min)
Method A - Scan documents from the module
- Select scan settings (see advanced settings to modify default settings):
- Color: Scan in color. Valid for a single scan. 💡Color scanning should be used only when necessary to minimize the size of files in the patient record and thus facilitate their accessibility.
- Legal: Scan to legal format (only available if scanner is configured).
- Automatically scan: Scan automatically on paper detection (only available if scanner is configured)
- Split pages: Separate each page of the batch into an individual document.

- Click on the Scan button (or the F4 key on your keyboard) to start scanning. The scanned documents are then displayed in the Local tab.
Method B - Transfer documents manually
To manually transfer PDF documents from your computer to the scanning module, follow these steps:
1. Select one or more documents on your computer. Each file must be less than 50 Mo in size. Accepted file types are .pdf, .tif, .jpg, .jpeg .bmp, .gif .png, .pcx, .wmf, .emf, .dicom (the last image will be retained only).⚠️ When saving your PDF file, alway select Microsoft Print to PDF and not Save as PDF.
2. Manually drag the document or group of documents into the left-hand section of the scanning module. Scanned documents are displayed in the Local tab. 
⚠️ A PDF document hosted on a cloud-based system, such as Microsoft Office 365 or Google Drive, cannot be dragged directly into the scan module. The document must first be uploaded to the workstation.
Method C - Insert screenshot
- Copy a document from File Explorer or open a screen capture tool, or press Windows+Shift+S to open the Windows Screen Capture Tool, then crop the area to be copied.
- Select the Color box in the scan settings to preserve colors (optional). Otherwise, the copied document will default to black and white.
- Click on the Paste button in the left-hand menu of the scan module.
Method D - Retrieve a classified scanned document
- Click on the button Retrieve an archived document.

Select the document to be restored. - Click on the Recover button.
Note: Classified documents are available in Retrieve an archived document for the retention period predetermined during configuration (determined from the date the document was added to the module).
⚠️ Please note! Retrieving a document from the scanning module following a filing error does not affect the patient record in Omnimed. If a document has been misfiled, you will need to access the patient record in Omnimed and make the necessary corrections. See Scanning errors for more details.
View scanned documents
Once added to the scanning module, scanned documents are automatically displayed in the left-hand menu of the scanning module.
Documents added to the scan module are displayed in two tabs and an archive section.
![]()

- Local: Scanned documents for filing.
- Fax: Documents received by fax (if web fax configured).
- Retrieve an archived document : Documents already filed. If required, you can Retrieve a document to return it to the Local folder.
The information displayed for each document is as follows:
![]()
- Check mark: Indicates that the document is selected.
- Status: Indicates the document's indexing status:

- New: Document not classified..
- OCR detection: Optical character recognition (OCR) has retrieved information about the document. Indexing must be revised before filing.
- Incomplete: The document's indexing must be completed before it can be classified.
- Valid: Indexing is complete. The document is ready to be filed. This status appears when a page has an Omnimed barcode containing all the required information.
- File too large: The document is too large to be filed. Delete the document and start scanning again, reducing the size (e.g. scan in black and white).
- Document : Date and time the document was scanned.
- Page: Document pagination. Single pagination (1, 2, 3, etc.) or multiple pagination: page 1/5, 2/5, 3/5, etc.
- Date: Date and time the document was last modified.
- File name: File name including extension (e.g. .tif). Automatically renamed when file is modified.
💡To see more information, you can change the width of the section by selecting the right-hand side until it becomes a resize slider , then dragging the side until the column matches the desired width.
